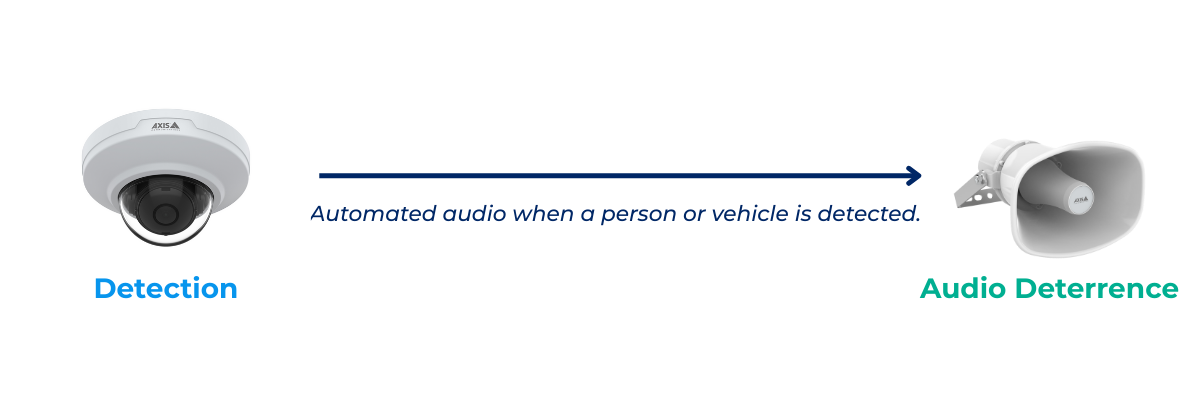
Automated Audio Message
Combine audio with video surveillance to trigger recorded messages or real-time alerts based on specific detection events. This integration creates a cohesive security response tailored to each situation, enhancing the overall effectiveness of your system.
How to Configure an Automated Message
Assign/Associate an Adjacent Speaker to the Device (This is the device that will trigger the automated message)
- Select Configuration from the top menu.
- Select “Devices” from the left context menu.
- Locate and select the Device you wish to associate with the speaker.
- On the Manage device page, scroll down to the Audio Association section.
- From the list of available speakers, select the speaker to associate with the device (the speaker must be assigned to the same site in Y6OS to appear as an option).
- Confirm that the Audio Configuration box is also enabled for Audio and Audio Output.
Add a webhook to the organization
- Select Configuration from the top menu.
- Select Organizations from the left context menu.
- Select the organization for which you want to add the webhook.
- On the Manage Organization page locate the Manage Organization Webhooks section and select Add Webhook.
- Name the Webhook.
- For the URL, please use: “http://audioaction.service.internal/“.
- Click Save.
Create a Notification Rule
- Select Configuration from the top menu.
- Select Notification from the left context menu.
- Select Add Notification Rule in the upper right corner of the page.
- Add the Name, Description, and select the Organization for the rule.
- Select the Timezone for the rule.
- Create the Schedule for the rule. (When will the rule be active). For the example above, we have set the rule to be active from 6 pm to 8 am, Monday through Friday, and all day Saturday and Sunday.
- Locate the Source section and select the device(s), device groups, or Sites that the rule will apply to. The device you associated the speaker to needs to be within this selection.
- Locate the Events section and select the events that will trigger the automated message. YourSix recommends the use of AOA (Axis Object Analytics). The analytics you choose must be running on the device. For example, if you select AOA, then you must confirm that AOA is running on the device.
- Locate the Recipients section and select the webhook icon within the table (3rd icon from the left). From the dropdown box, select the URL http://audioaction.service.internal/.
- Select Save at the bottom of the screen.
Audio Profile Message
By default, the device plays the trespassing.mp3 audio file. To override this with a custom message, create a profile on the device named audioaction. When this profile exists, it will be used in place of the default file.
Test the Rule
Once the rule has been created with the webhook, there are two main ways to test the rule and notification: physically or remotely. It is ideal to test the rule physically.
Physical test: Test the rule and notification using a real-world scenario. For example, have someone physically onsite walk by the device to trigger it. Ensure this is scheduled during the time specified in the notification’s schedule.
Remote test: Test the rule from the device interface by triggering the application remotely. Follow the steps below. Please note that the exact location of certain items may vary depending on the device’s firmware.
- On the Edit Device page, select “Access Device” (located in the Device Management section).
- Once the device interface has loaded, navigate to the Apps tab located on the left menu.
- Select the application you wish to test (AOA)
- Select the scenario
- In the upper right portion of the screen, select “Test Alarm.”